Introduction
In today’s digital landscape, websites are constantly targeted by cyber threats such as cross-site scripting (XSS), clickjacking, and data injection attacks. Many of these vulnerabilities exist simply because websites lack proper HTTP security headers — browser instructions that block malicious behavior before it reaches your users. Implementing security headers is one of the most effective, low-cost ways to protect your website and boost visitor trust.
Solution
Fortunately, you don’t need server access or a paid plan to fix this. Using Cloudflare’s free plan, you can easily add security headers to your website in just a few minutes via Transform Rules.
Step by Step
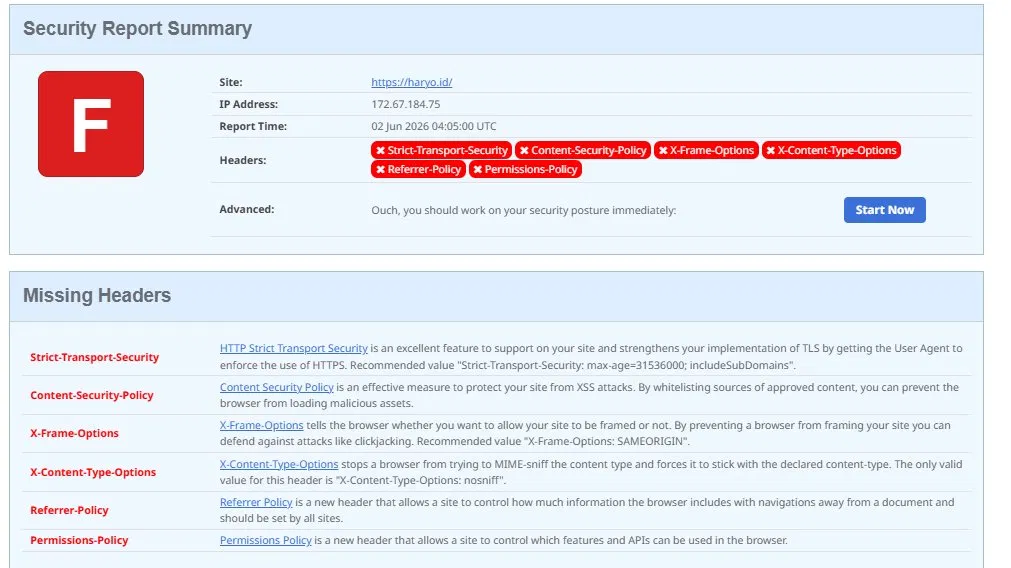
- Visit the website SecurityHeaders and scan your website to identify its shortcomings, and see the result. In my case, my website received an F rating, which is the worst possible result.

- Now log in to your Cloudflare dashboard, then select Rules > Settings > HTTP Response Headers. Next, enable both options: “Remove ‘X-Powered-By’ headers” and “Add security headers.”

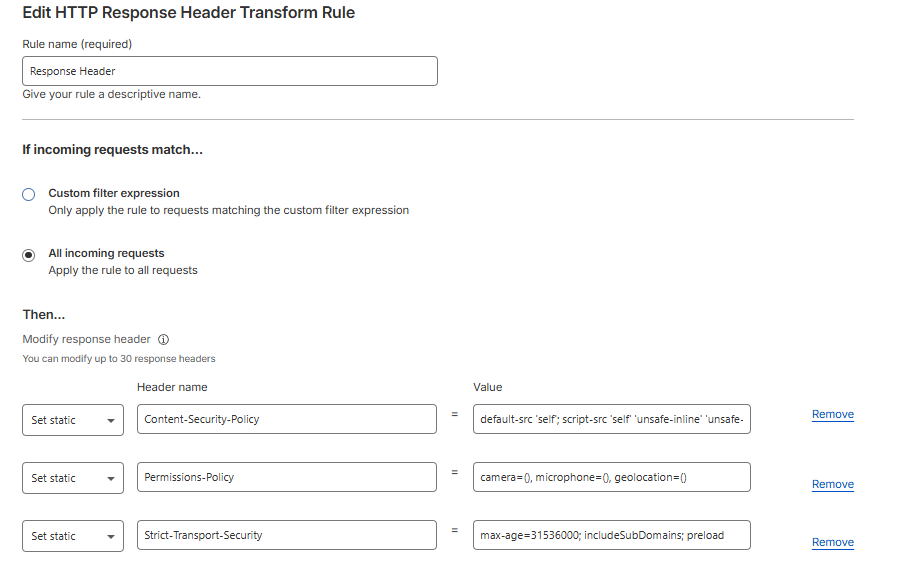
- Now select the menu Rules > Overview > Create Rule > Response Header Transform Rules. Name the rule, then under “If incoming requests match…” select “All incoming requests.” Next, under “Modify Response Header,” select “Set static”; we will create 3 response headers with the following values:

Header 1:
Header name: Strict-Transport-Security
Value: max-age=31536000; includeSubDomains; preloadHeader 2:
Header name: Permissions-Policy
Value: camera=(), microphone=(), geolocation=()Header 3:
Header name: Content-Security-Policy
Value:
default-src ‘self’; script-src ‘self’ ‘unsafe-inline’ ‘unsafe-eval’; style-src ‘self’ ‘unsafe-inline’ https://fonts.googleapis.com; font-src ‘self’ https://fonts.gstatic.com; img-src ‘self’ data: https:; connect-src ‘self’;
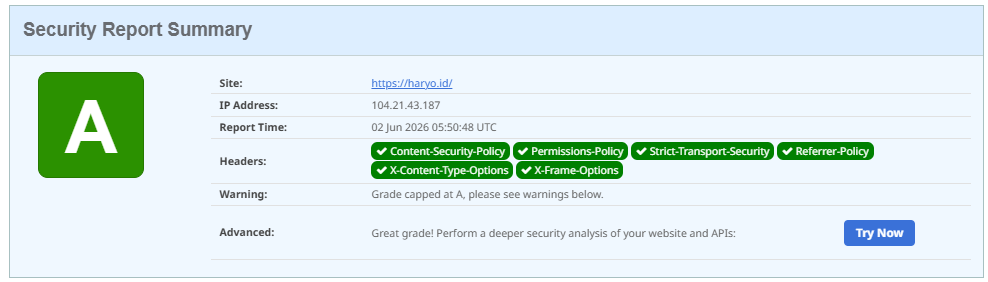
4. Deploy Rule, and rescan your website. In my case, my website become an A Rating.